10 Essential Tips for Building Your First Gaming PC
Building your own gaming PC is one of the most rewarding experiences in tech. Not only do you get to customize your rig to match your needs, but you’ll also save money and gain valuable knowledge about your system. However, if you’re a first-time builder, the process can feel overwhelming.
To help you get started, we’ve compiled 10 essential tips to make your first PC build smooth, efficient, and error-free.
1. Plan Your Build Based on Your Needs
Before buying parts, ask yourself:
✅ What games will I play? (AAA titles, esports, or casual gaming?)
✅ What resolution & refresh rate do I want? (1080p, 1440p, 4K, 60Hz, 144Hz+)
✅ What’s my budget?
Once you answer these, you can prioritize the CPU, GPU, and RAM accordingly.
2. Set a Realistic Budget
A good gaming PC doesn’t have to break the bank. Here’s a rough guide:
- 💰 Budget Build ($600-$1000): Great for 1080p gaming with mid-range performance.
- 💰💰 Mid-Range Build ($1000-$1800): Ideal for 1440p gaming and high frame rates.
- 💰💰💰 High-End Build ($2000+): For 4K gaming, ray tracing, and top-tier performance.
Pro Tip: Allocate more budget to the GPU for gaming-focused builds.
3. Make Sure Your Components Are Compatible
Nothing is worse than buying parts that don’t work together! Before purchasing, double-check:
✅ CPU & Motherboard Socket Compatibility (e.g., AMD AM5, Intel LGA 1700)
✅ RAM Type & Speed (DDR4 vs. DDR5)
✅ GPU Clearance & Case Size
✅ Power Supply Wattage & GPU Requirements
Use online PC part compatibility tools like PCPartPicker to avoid issues.
4. Get a High-Quality Power Supply (PSU)
A cheap PSU can cause instability, overheating, or even damage your components. Always choose a reliable PSU with the right wattage:
🔹 Budget Build: 600W – 750W (80+ Bronze)
🔹 Mid-Range Build: 750W – 850W (80+ Gold)
🔹 High-End Build: 1000W+ (80+ Platinum)
Stick to trusted brands like Corsair, EVGA, Seasonic, and Thermaltake.
5. Use an NVMe SSD for Faster Load Times
HDDs are outdated for gaming. Go with an NVMe SSD for lightning-fast boot times and game loading speeds. Recommended choices:
✅ Budget: 1TB NVMe PCIe 4.0 SSD
✅ Mid-Range: 2TB NVMe PCIe 4.0 SSD
✅ High-End: 2TB+ PCIe 5.0 SSD for extreme speeds
Bonus Tip: If you need extra storage, use a HDD for bulk files and an SSD for gaming.
6. Optimize Your Cooling & Airflow
Good airflow prevents overheating and performance throttling. Follow these rules:
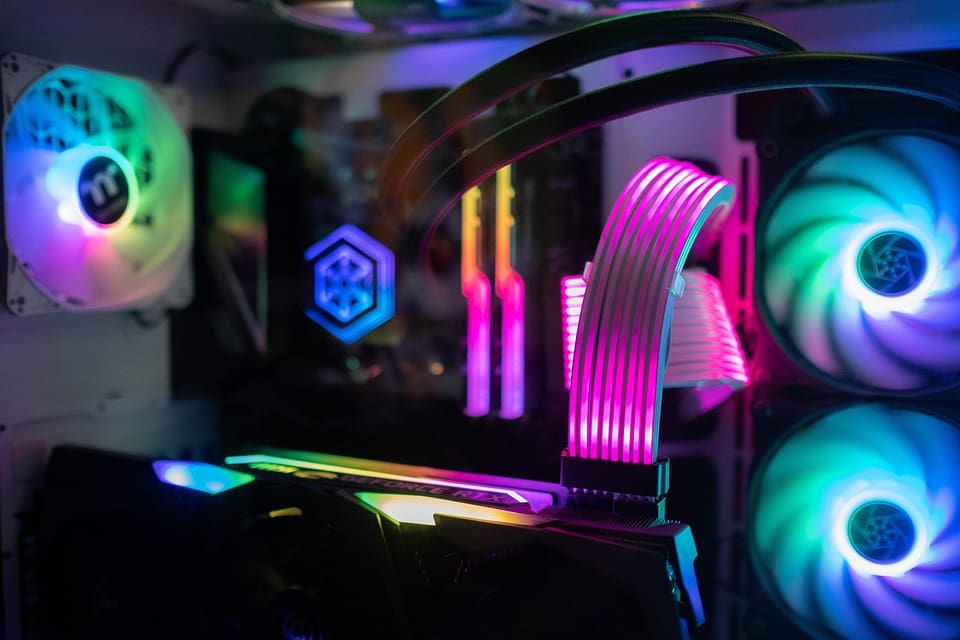
🌀 Positive Airflow: More intake than exhaust for dust prevention.
🌀 At Least 2 Intake & 1 Exhaust Fan: For balanced cooling.
🌀 Consider an AIO Liquid Cooler for high-performance builds.
Pro Tip: Apply high-quality thermal paste (e.g., Arctic MX-6, Noctua NT-H2) for better CPU cooling.
7. Manage Your Cables for Better Airflow & Aesthetics
Messy cables disrupt airflow and make upgrades difficult. Use:
🔹 Cable ties & Velcro straps
🔹 Modular PSU cables for fewer unused wires
🔹 Case routing holes to hide cables behind the motherboard tray
A clean build looks professional and keeps temperatures down.
8. Update Your BIOS & Drivers After Assembly
Once your PC is built, don’t forget to update:
✅ BIOS – Check the motherboard manufacturer’s website for updates.
✅ GPU Drivers – Install the latest drivers from NVIDIA or AMD.
✅ Windows Updates – Ensure all security patches and drivers are installed.
These updates fix bugs, improve performance, and enhance stability.
9. Benchmark & Test Your System
Before jumping into gaming, stress test your build to ensure stability:
📊 Cinebench R23 – Test CPU performance.
🎮 3DMark Time Spy – Test GPU performance.
🔥 Prime95 & AIDA64 – Stress test CPU & RAM stability.
If temperatures exceed 85°C under load, check cooling and thermal paste application.
10. Future-Proof Your Build
Tech evolves fast, so plan ahead for upgrades:
🔹 Choose a motherboard with extra RAM & NVMe slots.
🔹 Pick a PSU with extra wattage for future GPU upgrades.
🔹 Get a larger case if you plan to add more cooling or storage.
With smart planning, you can upgrade parts instead of replacing your entire PC later.


