Introduction
Gaming PCs have become increasingly popular among gamers due to their customizable nature and superior performance compared to traditional gaming consoles. Building a custom gaming rig can seem like a daunting task, but with the right guidance and knowledge, anyone can create a powerful gaming machine tailored to their specific needs and preferences. In this step-by-step guide, we will walk you through the process of building a custom gaming rig, from selecting the right components to assembling the PC and optimizing its performance.
Why This Topic Matters
Building a custom gaming rig is not only a rewarding experience but also essential for gamers who want to maximize their gaming performance. Here are a few reasons why this topic is important:
- Performance Impact: A well-built gaming rig can significantly enhance your gaming experience by providing smoother gameplay, faster load times, and higher frame rates.
- Customization: Building your own gaming rig allows you to tailor the PC to your specific needs and preferences, ensuring that you get the best possible gaming experience.
- Savings: While building a custom gaming rig may require an initial investment, it can be more cost-effective in the long run compared to buying a pre-built gaming PC.
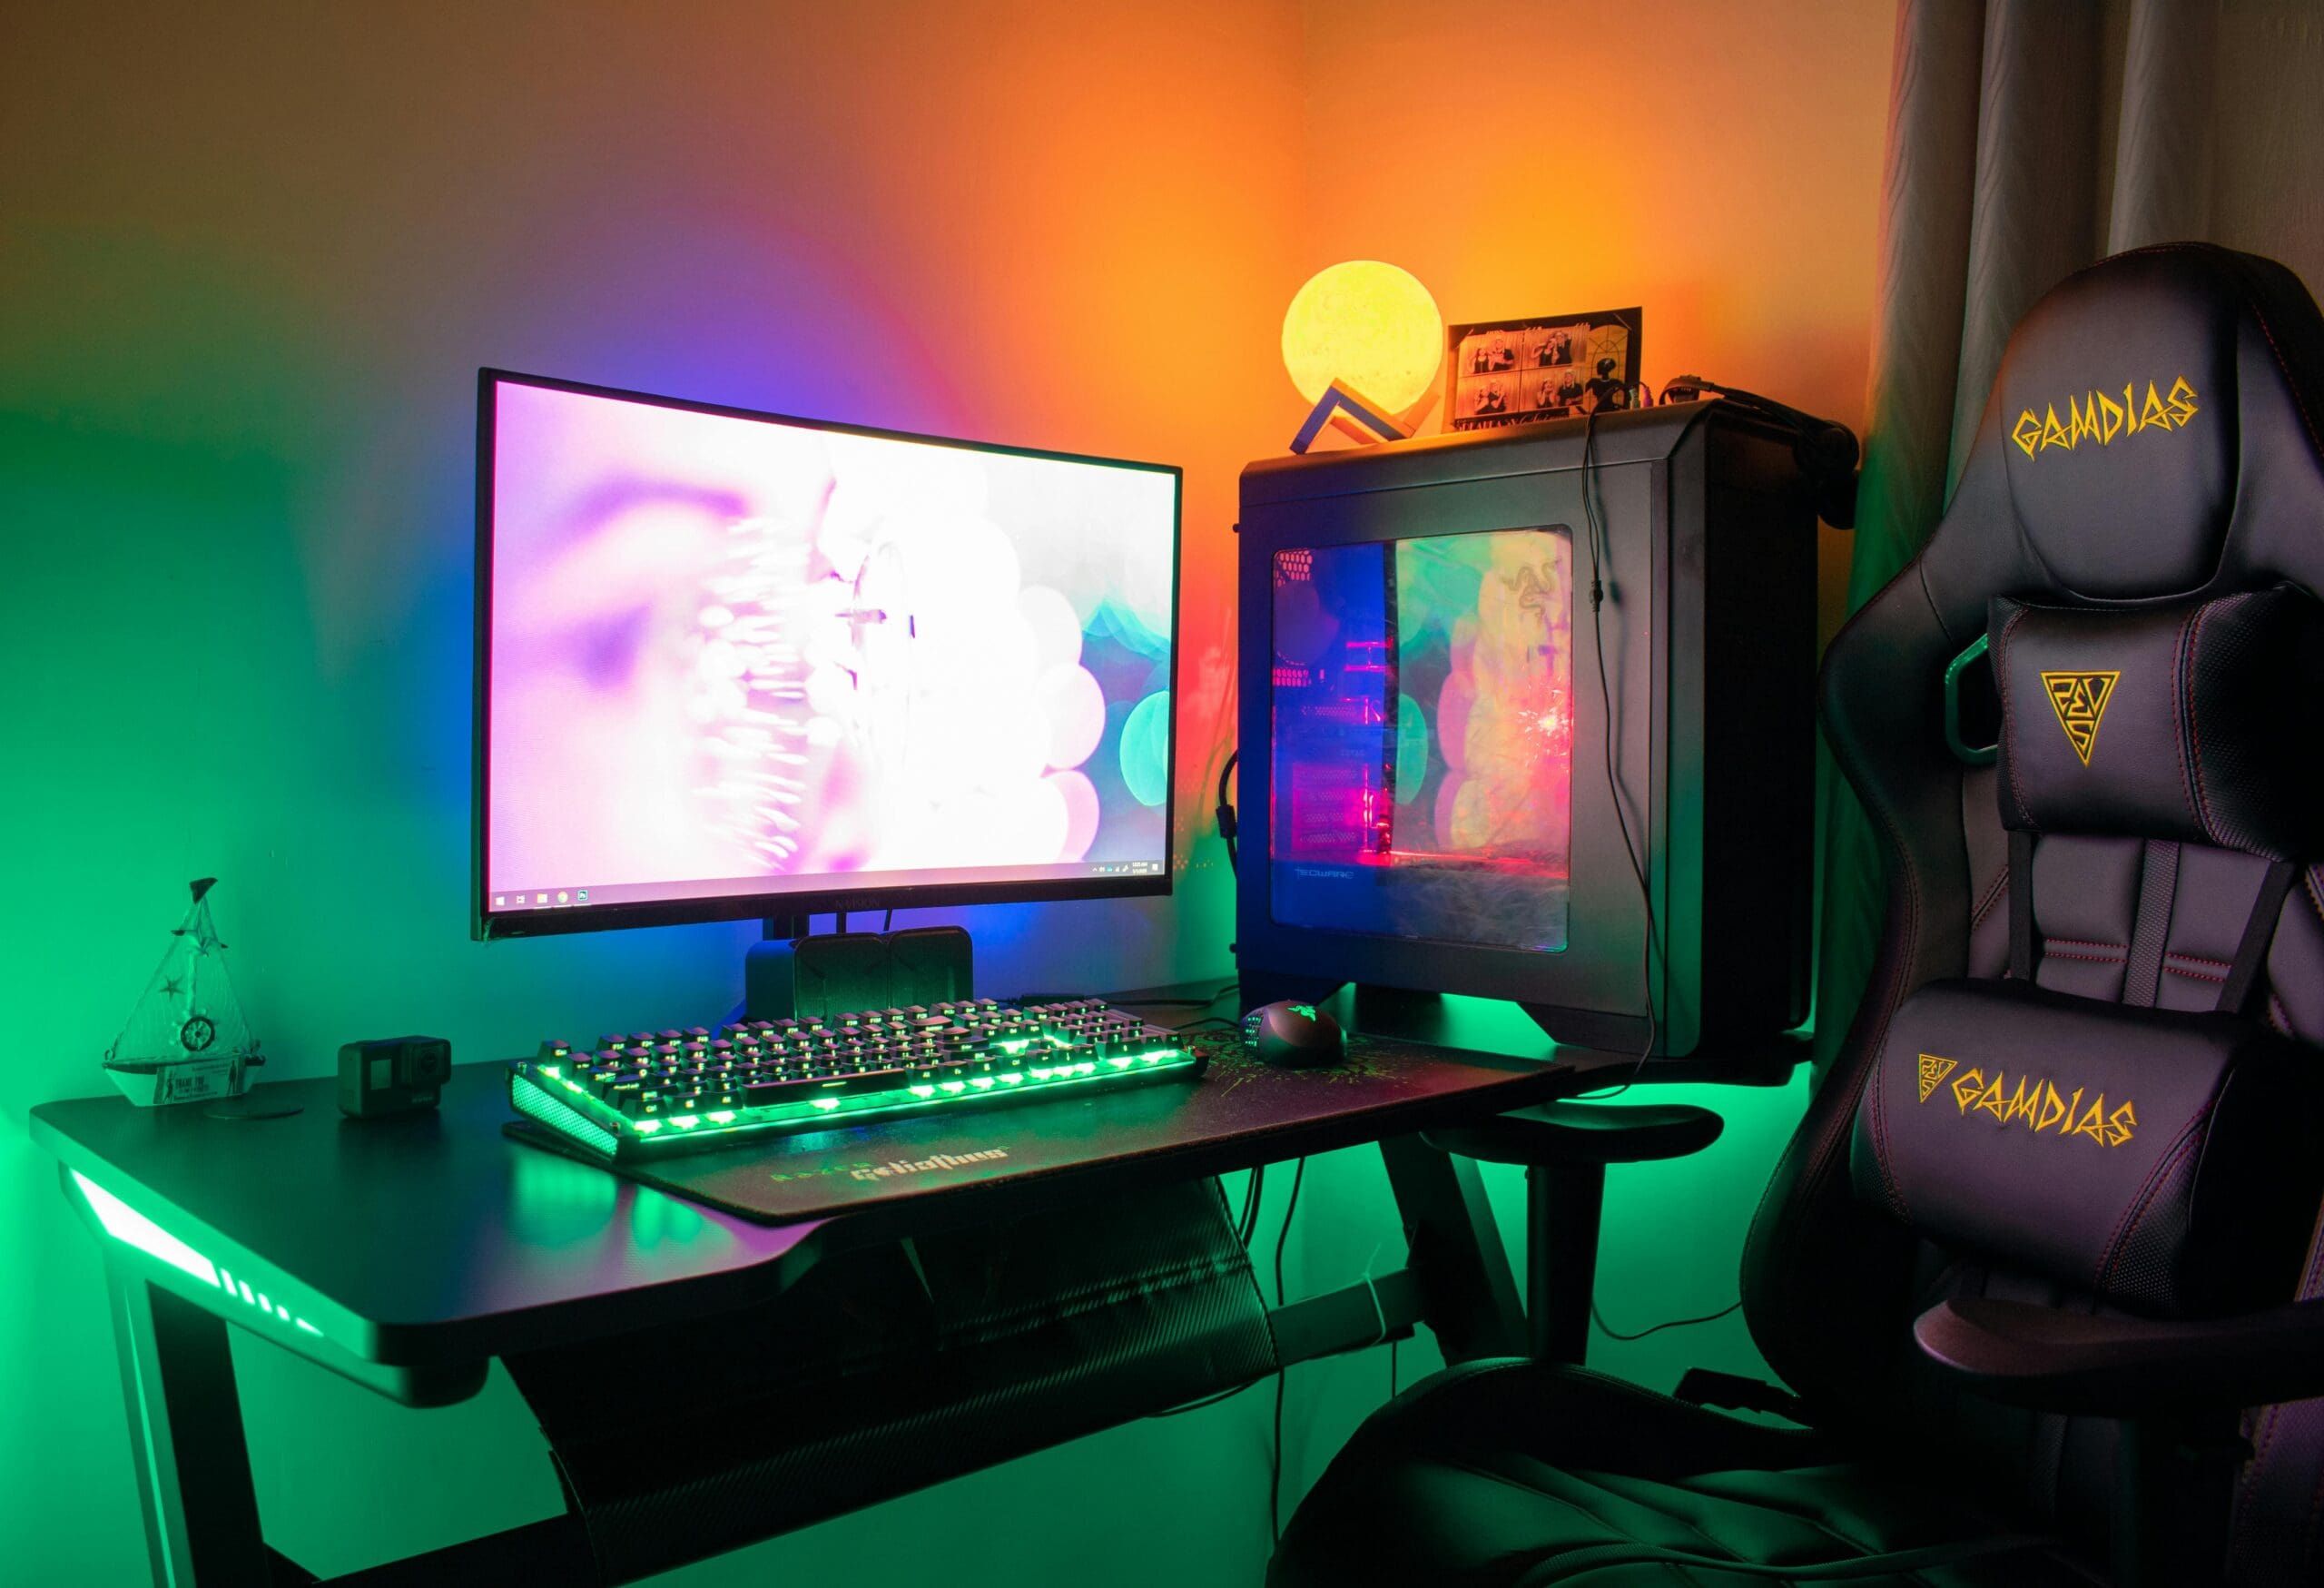
Step-by-Step Guide
Building a custom gaming rig involves several key steps, each of which plays a crucial role in ensuring that your PC performs optimally. Here is a step-by-step guide to help you build your own custom gaming rig:
1. Set a Budget and Define Your Needs
Before you start building your gaming rig, it’s essential to set a budget and define your needs. Determine how much you’re willing to spend on the components and what kind of games you’ll be playing. This will help you choose the right components that offer the best value for your money.
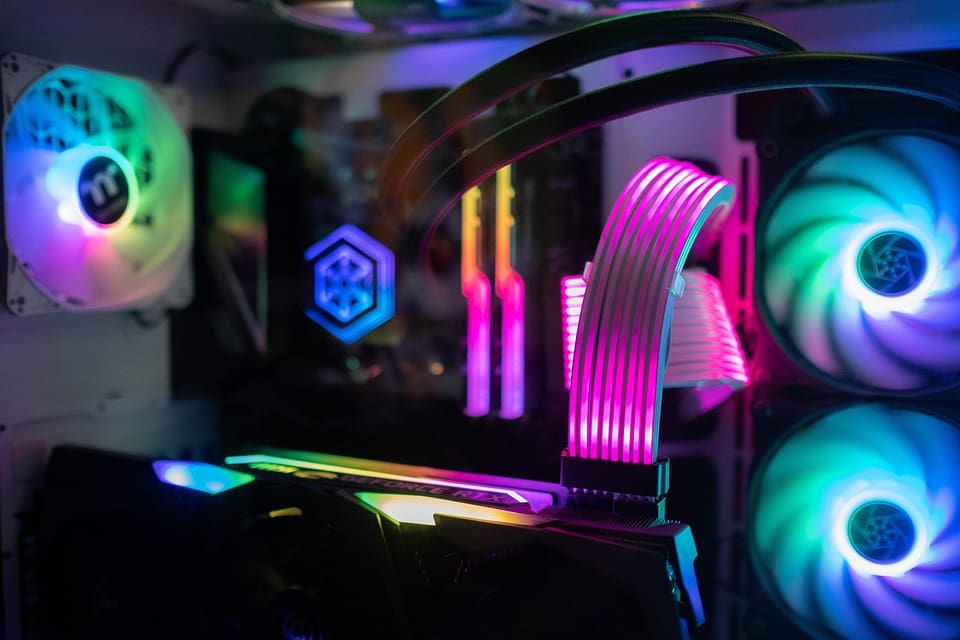
2. Choose the Right Components
When building a custom gaming rig, the most important components to consider are the CPU, GPU, RAM, storage, motherboard, power supply, and cooling system. Research different options available in the market and choose components that are compatible with each other and meet your performance requirements.
3. Assemble the PC
Once you have all the necessary components, it’s time to assemble your gaming rig. Follow the instructions provided with each component and use tools like a screwdriver to secure them in place. Make sure to connect all the cables properly and ensure that the components are installed securely.
4. Install the Operating System and Drivers
After assembling the PC, install the operating system (such as Windows or Linux) and the necessary drivers for the components. This will ensure that your gaming rig runs smoothly and can take full advantage of the hardware you’ve installed.
5. Optimize Performance
Once your gaming rig is up and running, it’s time to optimize its performance. This includes adjusting settings in the operating system and in-game, updating drivers, and monitoring temperatures to prevent overheating. Regular maintenance and monitoring will help ensure that your gaming rig performs at its best.
Common Mistakes to Avoid
- Not Researching Components: Choosing components without doing proper research can lead to compatibility issues and subpar performance.
- Skipping Cable Management: Poor cable management can obstruct airflow and lead to overheating, affecting the performance and longevity of your gaming rig.
- Ignoring Software Updates: Failing to update drivers and software can result in compatibility issues and security vulnerabilities, impacting your gaming experience.
Advanced Optimization Tips
For advanced users looking to further optimize their gaming rig, here are some additional tips:
- Overclocking: Overclocking your CPU and GPU can provide a performance boost, but it requires careful monitoring and may void warranties.
- Custom Cooling Solutions: Consider investing in custom cooling solutions like liquid cooling to keep your gaming rig running at optimal temperatures.
- Monitoring Software: Use monitoring software to keep track of your PC’s performance and temperatures, allowing you to make adjustments as needed.
Final Thoughts
Building a custom gaming rig is a fun and rewarding experience that allows you to create a PC tailored to your gaming needs. By following the steps outlined in this guide and avoiding common mistakes, you can build a powerful gaming rig that provides a seamless gaming experience. Whether you’re a beginner or an experienced builder, building a custom gaming rig is a worthwhile endeavor that can enhance your gaming experience and provide hours of entertainment.
💬 What has been your biggest challenge when building a custom gaming rig? Share your experiences and tips in the comments below!